Step-by-Step
August 20, 2020
Cursory

This article walks you through the process of adding a custom hardware cursor to a new game or a preexisting game using Cursory.
Create a Game
The first thing we need to do is create a new Unreal Engine 4 project. Navigate to the Epic Games Launcher, launch the Engine, and create a new project (Blueprint is fine). Call it whatever you want. I am calling my project CursoryShowcase.
If you already have a project that you want to add cursors to, you can skip this step.
Install and Enable Cursory
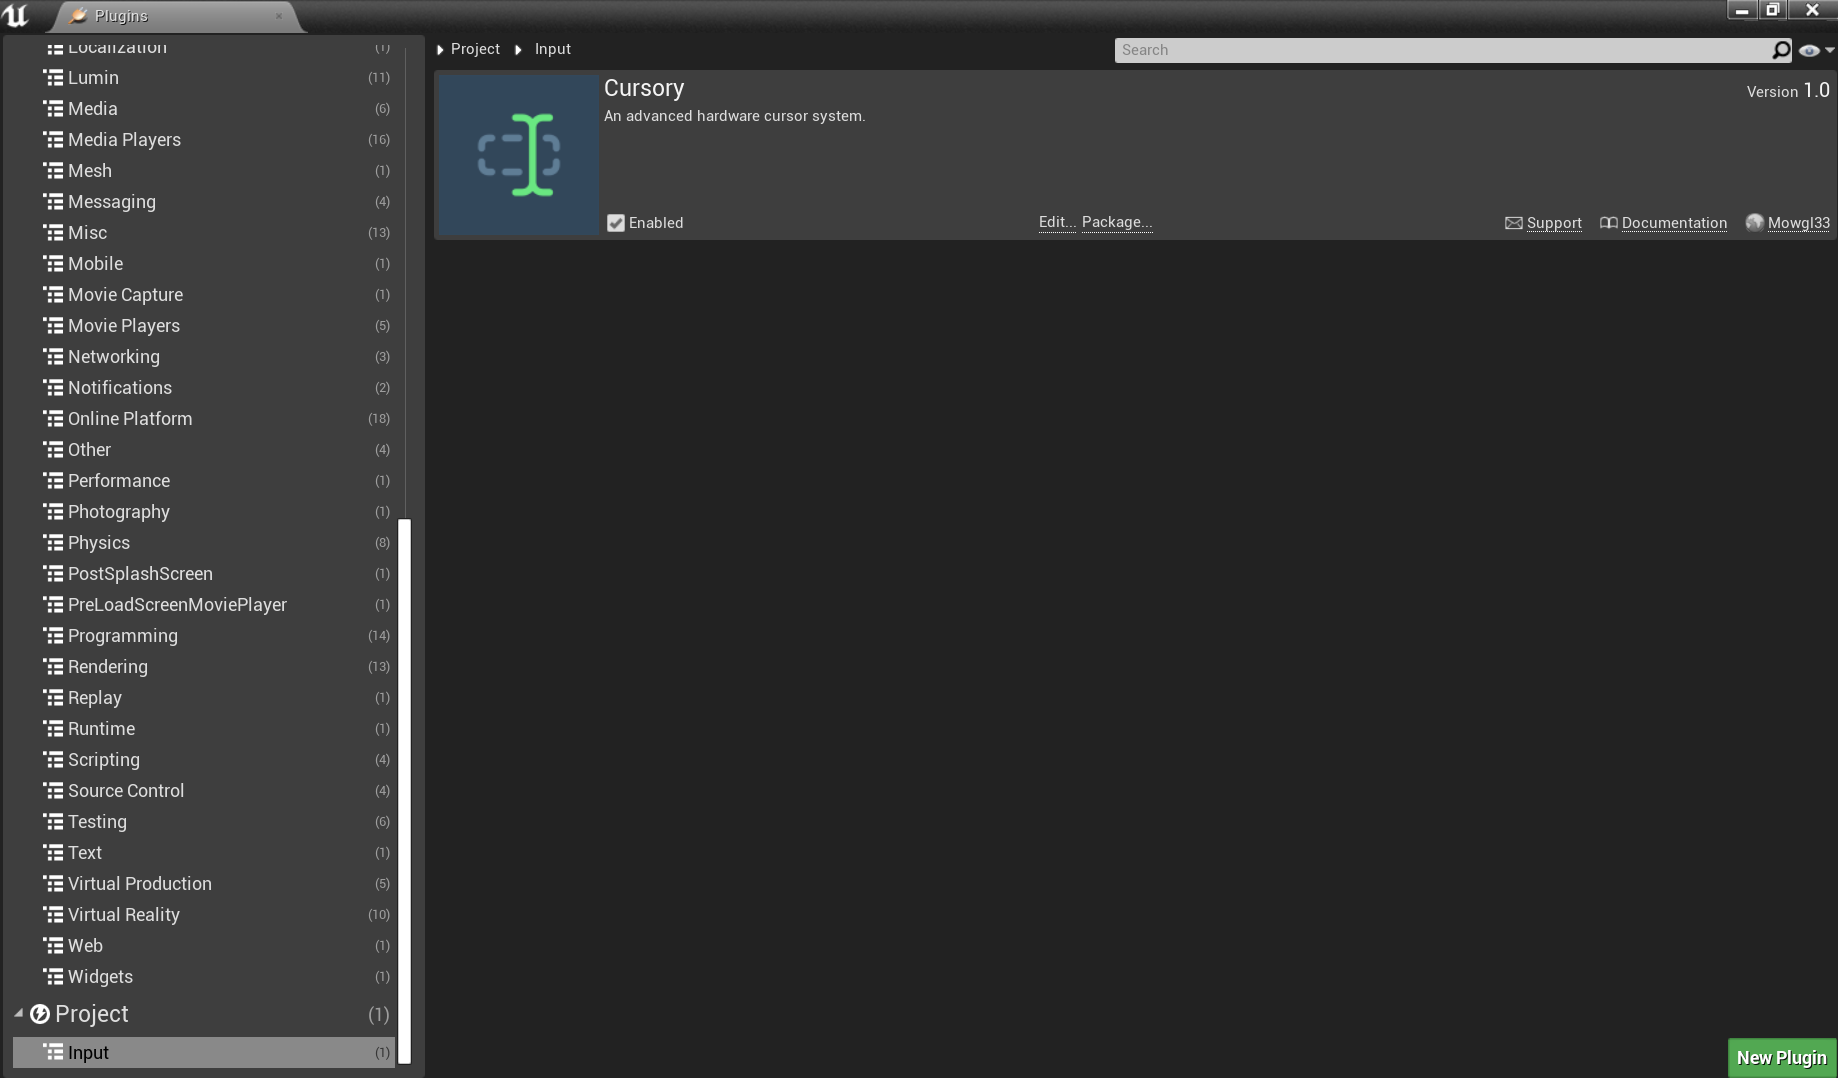
Next, make sure that the Cursory plugin is installed and enabled for your project. To install it, navigate to your Vault in the Epic Games Launcher, find the Cursory plugin, and click the button to Add to Project and add the plugin to your project.
Now reopen your project and open the Edit > Plugins window. Scroll to the bottom to find Cursory under the Project > Input section. It should be enabled. If it isn't, do so and restart the Editor.
Add a Custom Cursor to Your Project
Now for the fun part. Pick out the cursor that you want to use in your game. You may have already designed one yourself. Otherwise, you can grab one from one of the many free cursor websites (e.g., Cursor Library, Cursors 4U).
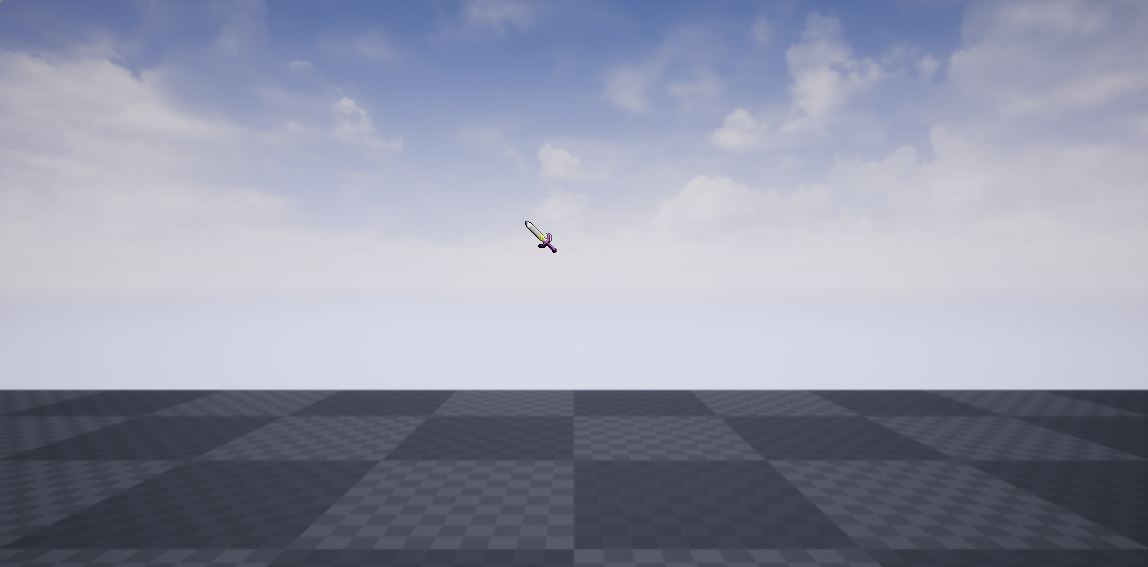
I'm using this one, inspired by the Legend of Zelda, for this walkthrough:

After downloading the cursor, rename it to sword.ani and place it in the folder located at {ProjectRoot}/Content/Slate/Cursors/. If the folder structure doesn't already exist, create it.

With this, our cursor can be found by Cursory.
Define and Identify the Cursor in Project Settings
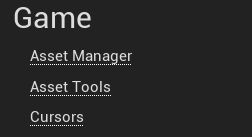
Our cursor is now available, but we need a way to identify it in the game. To do this, open up Project Settings and scroll down to the Game > Cursors section.
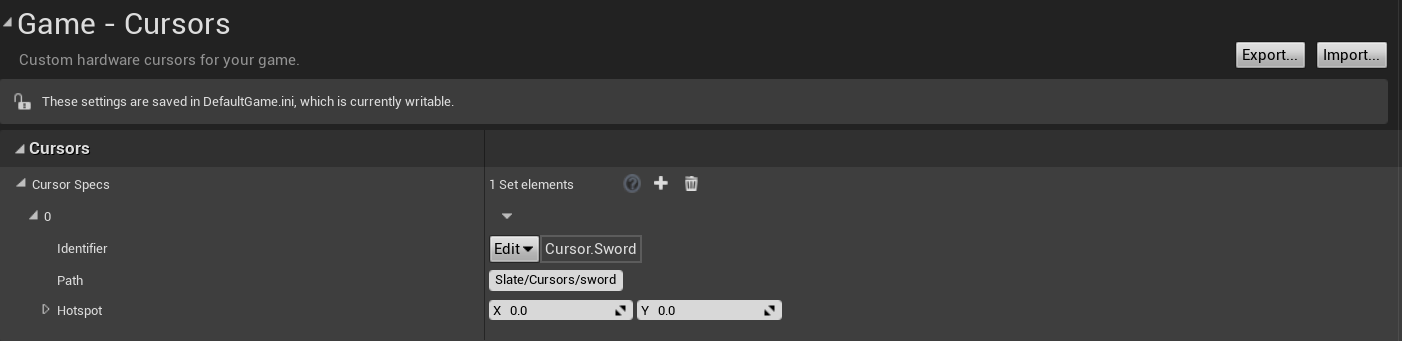
Here you will see an array of CustomCursorSpecs. This array represents the complete list of hardware cursors that your game will use. Add an element, and you will see three options:
- Identifier
- Path
- Hotspot
The Identifier is the GameplayTag that will be used to identify our cursor. We will tag our sword cursor as Cursor.Sword, though you can call it anything you like.
The Path is the path to the cursor we want to associate with this identifier, relative to the game's Content directory and without a file extension. In our case, that's Slate/Cursors/sword.
The Hotspot is optional. It represents the part of the cursor that is active (for example, the middle of a crosshair cursor). Many file types like .ani come with built-in hotspots. Because we are using an .ani here, we can skip this option.
Conform the Player Controller and Set Up Framework Classes
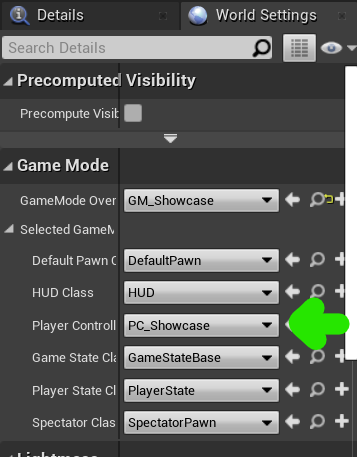
Almost there. Now we just need to mount the custom cursor that we identified above at runtime, and then conform our Player Controller to use that cursor. Create a GameMode (GM_Showcase) and a Player Controller (PC_Showcase) in your main Content directory.
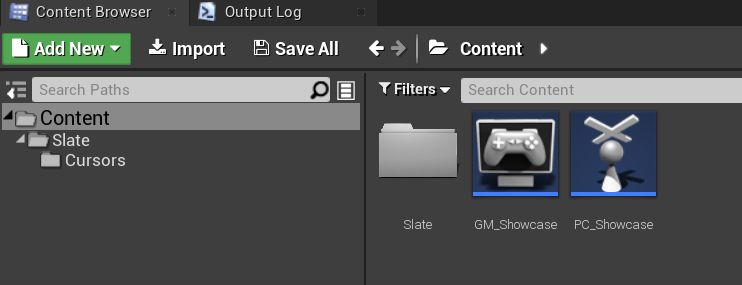
Set the PlayerController class for GM_Showcase to PC_Showcase and set GM_Showcase as the GameMode for the currently open level in WorldSettings.
Then, open up PC_Showcase and add a CursoryConformerComponent to it. This will make sure that your Player Controller uses the cursor dictated by Cursory.
Finally, call UseBaseCustomCursor in PC_Showcase on BeginPlay with the identifier associated with our cursor: Cursor.Sword.
Test in Editor
And that's it! Fire up your game in Play-in-Editor mode (or otherwise), and you should see an unassuming sword cursor flitting to and fro.
If it didn't work, make sure that you followed each of the steps in this article and check the Output Log for any error messages. If you still can't find a solution, drop a comment below. Happy hacking!


